Workflow IQ Configuration

Welcome to your first deployment set up! This page will provide step-by-step instructions for the Workflow IQ (WIQ) configuration process.

WIQ automates and manages collaboration between Continuous Controls and your teams. The Sandbox Deployment process will open and assign sample tasks to ensure your team is fully integrated with the environment.

This deployment version will auto-create an "IT" team in your new customer WIQ organization. Per the instructions below, this team needs to be configured to enable the following feature requirements:

  • The "IT" team needs to have an Approval system configured.
  • The "IT" team needs to have a Task system configured.
  • The "IT" team does NOT need a storage feature at this time.
1. Onboard IT Team in WIQ

  1. Go to the WIQ URL at:

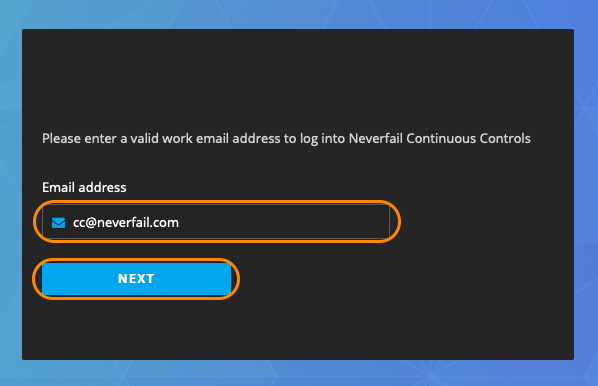
  2. In the first login window, enter your email address, then select NEXT.

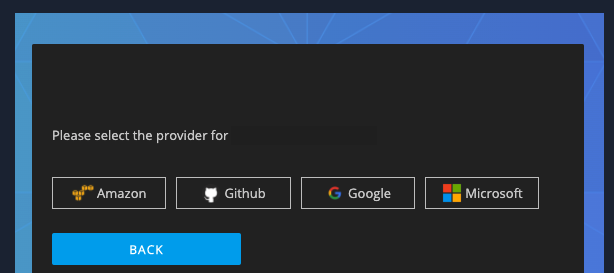
    • After, you should automatically be redirected to your identity provider (Amazon, GitHub, Google, or Microsoft) sign-in page.

  3. Sign-in to your identity provider.

  4. You will now be redirected to the WIQ home page.
    (https://prod.neverfail.com/wiq-ui)

    IF NOT REDIRECTED TO YOUR IDENTITY PROVIDER AUTHENTICATION SCREEN:

    • Select your corporate identity provider login option.
      (Amazon, Github, Google,or Microsoft )

    • After, you should be redirected to the WIQ home page.

2. Add Task Connection/Feature (Jira Version)

  1. From the WIQ home page, select Connections

  1. On the next page, select "+ Add Connection"

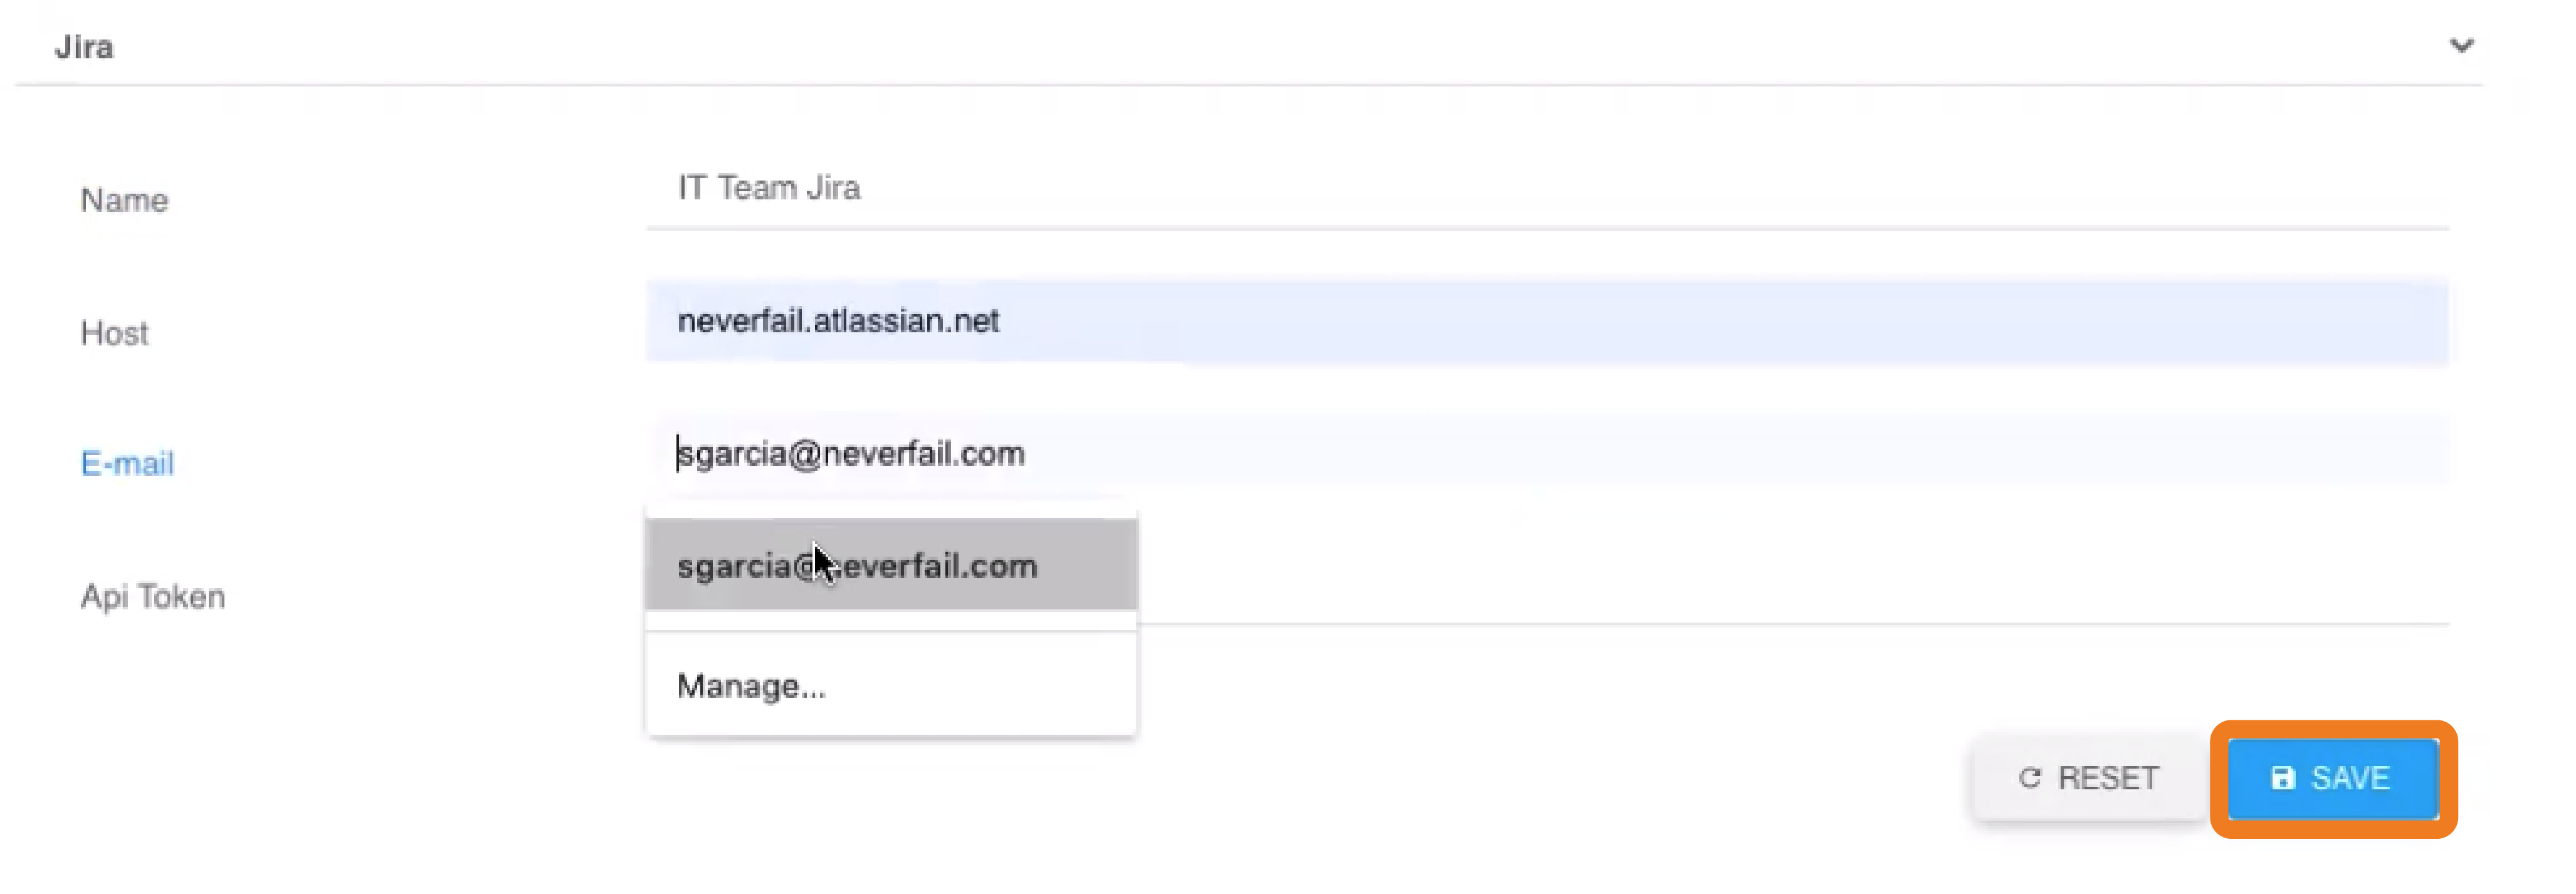
  1. Driver = Connected task system (Jira for example).

  2. Name = Create an arbitrary name but consider something like “IT Team JIRA”.

  3. Host = Your Task system URL, excluding the “https://” portion.

  4. Email = User application email (Jira user email).

  5. API Token = (Created in your Jira user profile settings):

    1. In a new browser tab, Open Jira.

    2. Click on your User icon.

    1. Select Account Settings.

    1. Navigate to Security.

    1. Select API token.

    1. Select Create API Token.

    1. Create an API token name/label, then select Create.

    2. In the next window, copy the API Token, then paste it into the "Api Token" field.

  1. When done with the API Token entry, click Save.

  2. After saving, Test the new connection.

3. Add "IT" Team Task Feature and Validate The Connection

  1. WIQ Dashboard select TEAMS.

  1. On the next page, you will notice that a default "IT" team has already been created.
    Select the "+" icon under the "TASKS" column.

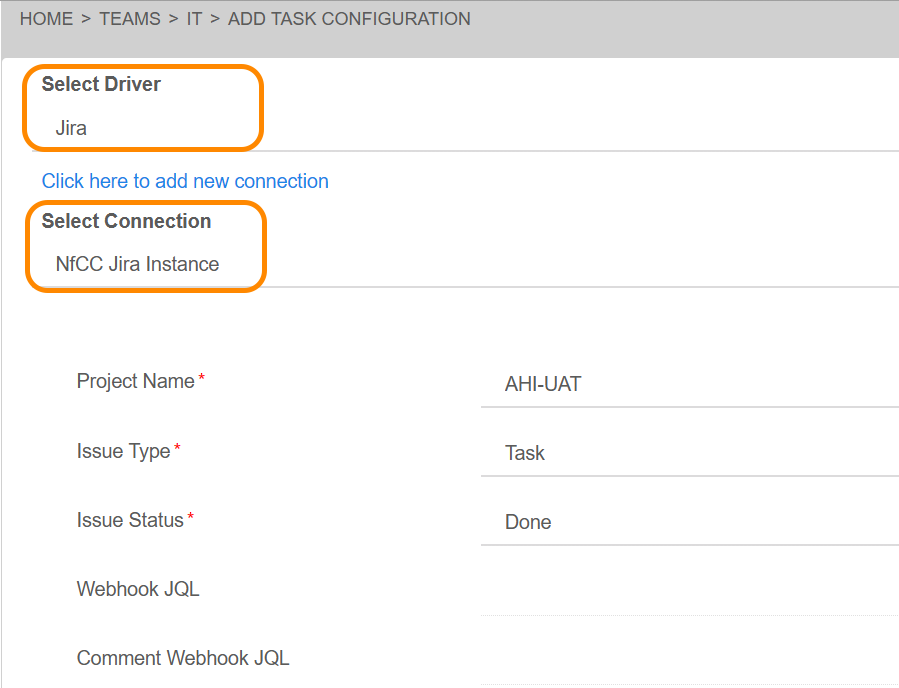
  1. Select Driver = Your task system driver
    (Jira in this example)

  2. Select Connection = New Connection name.
    (ex. "IT Team JIRA")

  3. Pick from the drop-down selections for your IT team:

    1. Project Name = Pick from the pre-populated list, where you want your Deployment task tickets to land.

    2. Issue Type = “Task”.

    3. Issue Status = The issue status that indicates a task is completed. (“Done” for example)

    4. Webhook JQL/Comment/Enable Comments/ = SKIP THESE.

  1. Select Next when done.

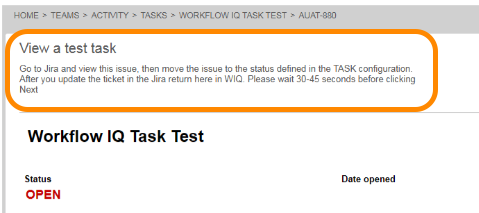
  1. Per this "View a test task" note, OPEN JIRA IN A NEW WINDOW to view your new Workflow IQ Task Test ticket.

    (Do not select "Next" at this point)

  1. Open the test ticket in Jira and change it to a completed or done status.

  1. Switch back to your WIQ Task Test screen and click NEXT.

  2. The Workflow IQ Task Test status will now indicate "CLOSED". Click NEXT to continue.


  3. Test summary page will indicate “PASSED”, and you are Done.

WIQ is DONE! Time for a coffee break.
(The system needs to sync with the Continuous Controls platform)


REMINDER: Go to your configured task system, close out this task ticket, then keep an eye out for your next task.

TOP